A retrospective is a form of group reflection — a tool for continuous improvement and cultural change within a team.
We usually hear about «retros» in the context of end-of-sprint ceremonies in iterative development. Yet the vast majority of teams don’t follow Scrum or any iterative approach to building products. That’s no reason, however, to give up on self-reflection or group reflection when hitting key project milestones.
Below is a detailed 8-step plan with timings for running an engaging retrospective with a large team (10+ people).

Step 1 — Preparation
Time: 30+ minutes
The more frequently you run retros, the less time preparation takes. Your first retrospective might take over an hour or two to prepare; eventually, it’ll take no more than half an hour.
Preparation involves creating a session template (if running online) in Miro or Figma, and adapting that template to the specifics of the event. Adapting means modifying, removing, or adding blocks and adjusting timings based on the number of participants.
In the basic version described below, the session runs for one and a half hours.
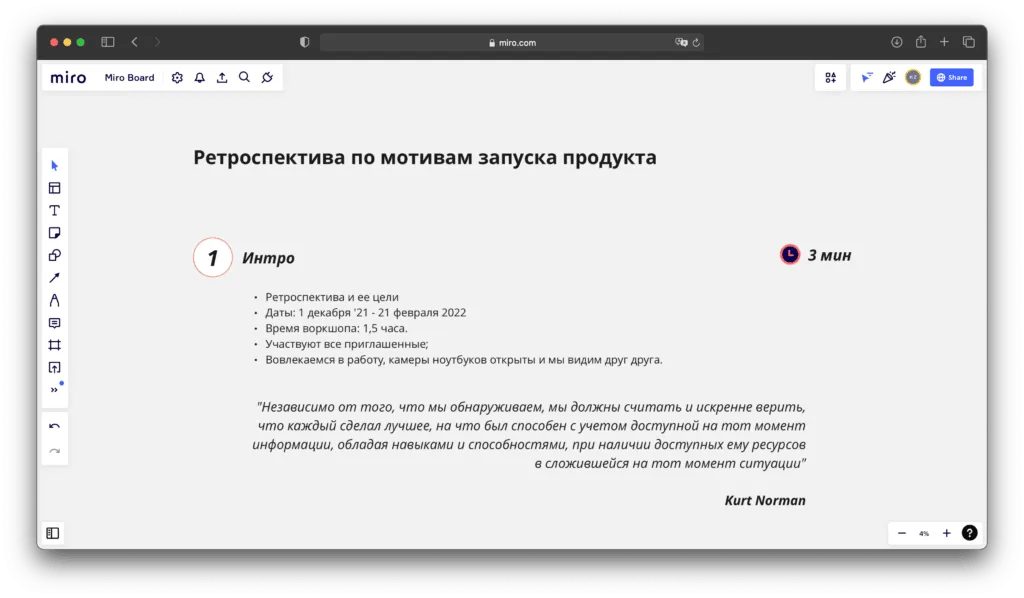
Step 2 — Opening Remarks
Time: 3 minutes
Start quickly — don’t waste precious time on formalities — but do cover the goals of the retrospective and the time period it spans. Remind everyone of a few ground rules: staying engaged, being thoughtful and respectful in how you phrase things, and any other organizational points you’d like the group to observe in order to get the most out of the session.
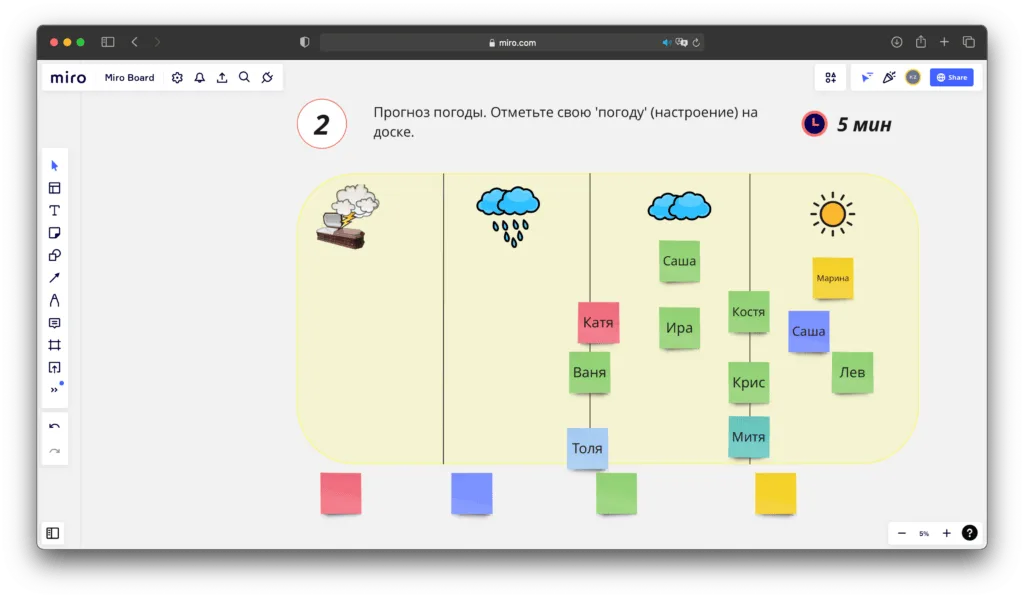
Step 3 — Setting the Mood
Time: 5 minutes
The goal of this phase is to warm the team up for the serious work ahead. There are many ways to do it — around 30 different options can be found at retromat.org. One simple approach: ask participants to mark their current mood on the board using weather icons, as shown in the screenshot below.
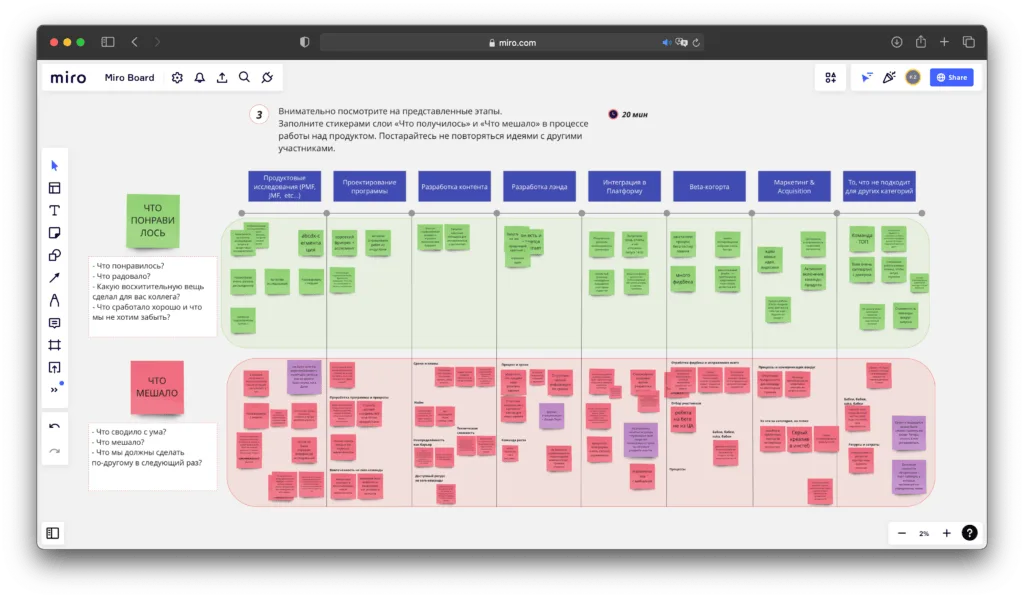
Step 4 — Gathering Information
Time: 20 minutes
Before this phase begins, prepare a board template with a timeline broken into phases, so participants can focus on the specific periods you’ve selected. These might be, for example, phases of a product or project lifecycle.
The main task for participants: within the allotted time, add sticky notes under «What worked well» and «What got in the way.» It’s important to remind everyone upfront to write enough detail on their stickies, since others will be reading them too.
At the end of this step, briefly scan through the green stickies and read out the key ones. After that, you won’t be focusing on the green stickies anymore.
Various approaches to this phase can also be found at retromat.org — pick whatever fits best.
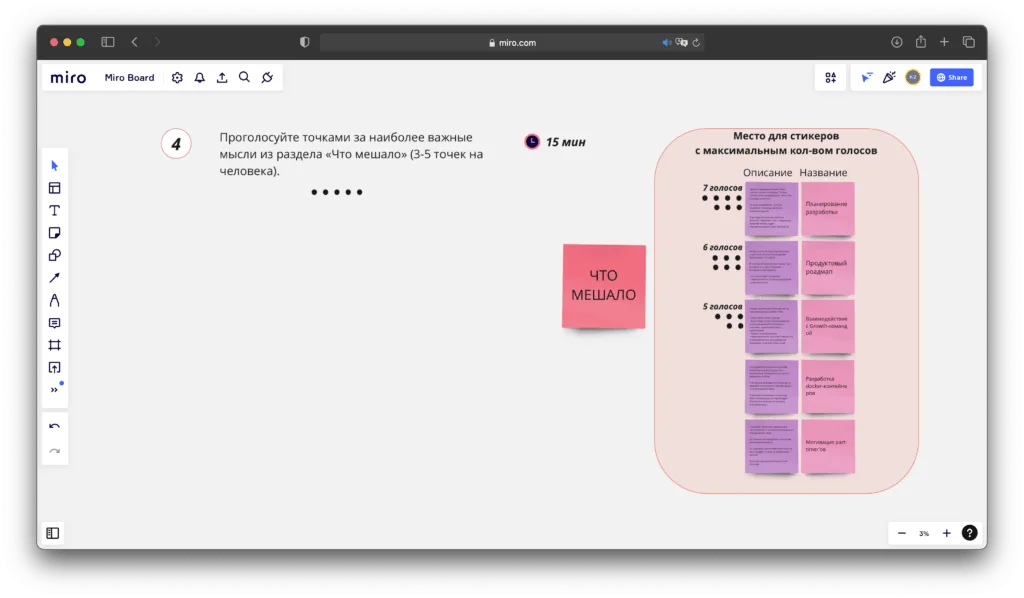
Step 5 — Identifying the Most Critical Issues (by Vote)
Time: 15 minutes
In this phase, give each participant n dot votes to place on the red stickies that represent the most critical problems — the things that got in the way most during the project or product work.
Once everyone has voted, select the stickies with the most votes. I recommend picking between 3 and 5.
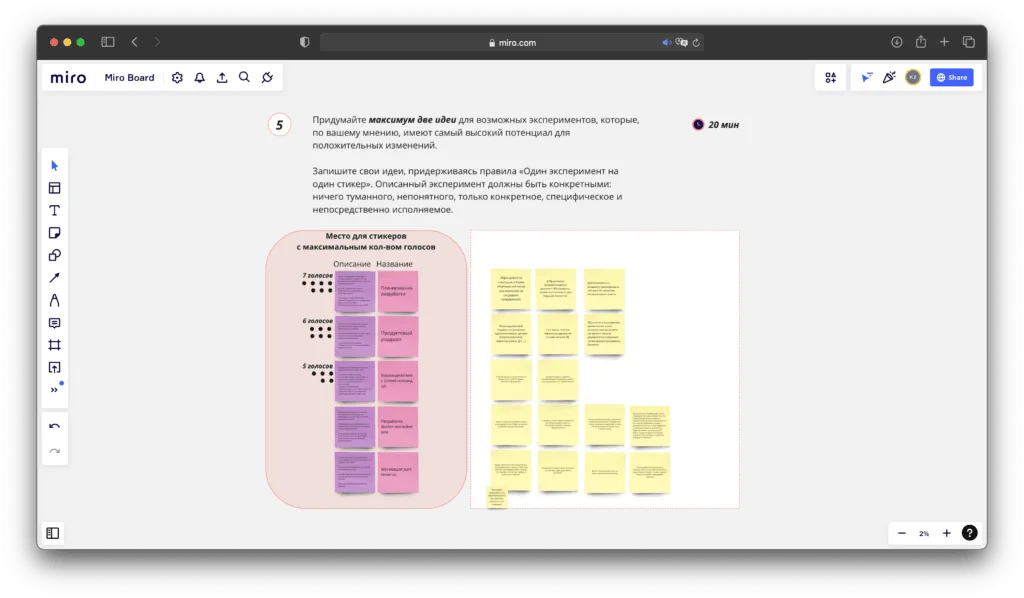
Step 6 — Generating Solution Hypotheses
Time: 20 minutes
By the start of this phase, you have the team’s top 3–5 problems. Now it’s time to think about possible ways to address them. Proposed solutions are written out in detail on sticky notes — they should be specific and actionable.
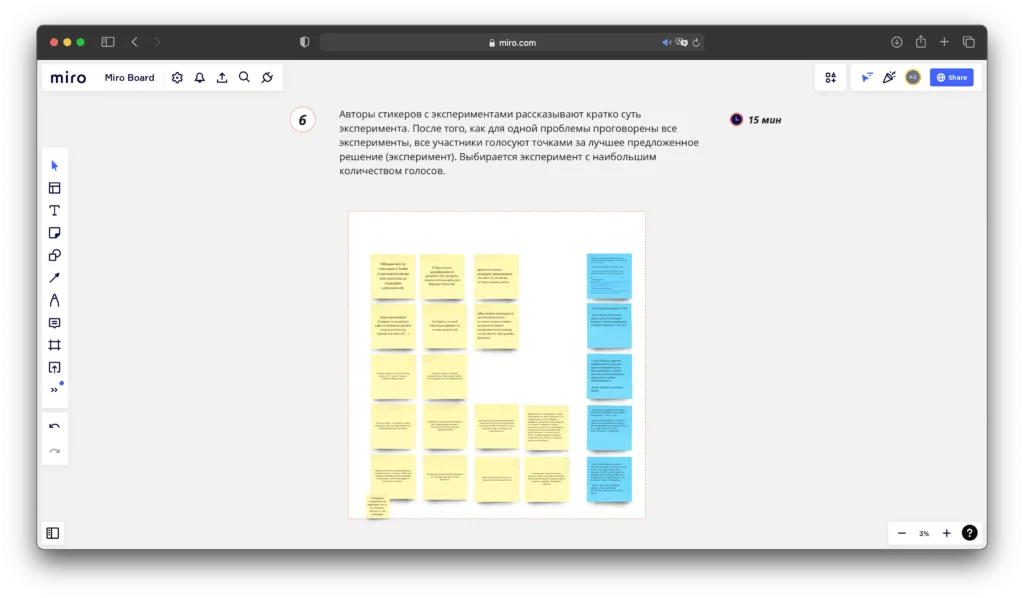
Step 7 — Selecting the Best Hypotheses (by Vote)
Time: 15 minutes
In this phase, the team selects the best solution for each problem through discussion and/or voting. The chosen solution is captured on a sticky note and placed to the right, and an owner is assigned — someone who will take responsibility for implementing it.
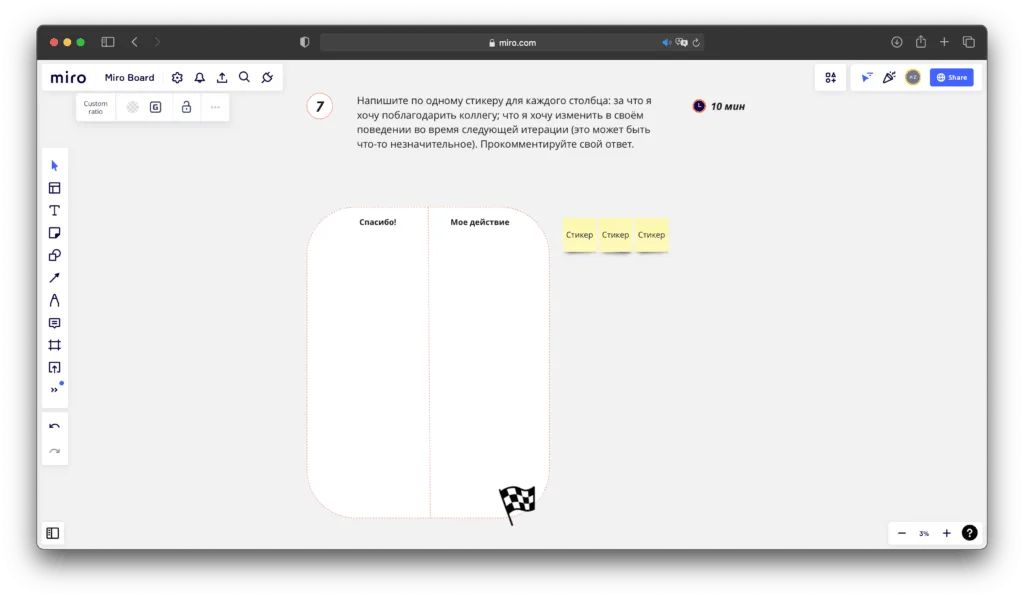
Step 8 — Closing the Retrospective
Time: 10 minutes
One option: ask everyone to write a note of appreciation to a teammate (or even to themselves), and on a second sticky note, «One thing I’ll change in how I work» — to be acted on right after the meeting ends.
Various closing techniques can also be found at retromat.org.